
QuickStart Guide: Creating an ePortfolio on Canvas
Follow this guide to learn how to create and share their ePortfolio on Canvas and create individual pages for the ePortfolio.
If you are enrolled in composition courses at the University of Washington, you are required to submit an ePortfolio on Canvas as your final project. In your ePortfolio, you will introduce three to four showcase pieces (your best assignments), discuss how you have improved as a writer during the course, and reflect upon how this course will help you with writing outside of class.
The ePortfolio is 70% of your final grade.
Step 1: Creating Your ePortfolio
Follow these steps to create and share your ePortfolio page with your instructor.
- In your internet browser, go to: https://canvas.uw.edu/.
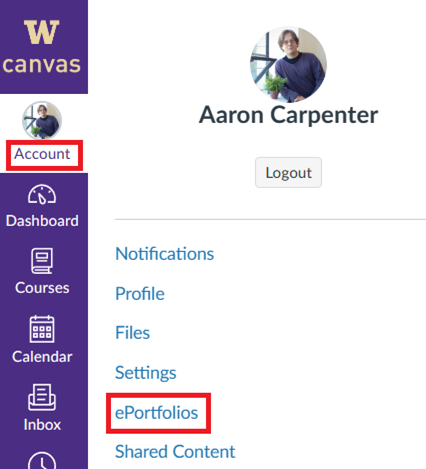
- In the upper right-hand corner of your UW Canvas homepage, click Account, and then click ePortfolios from the menu.
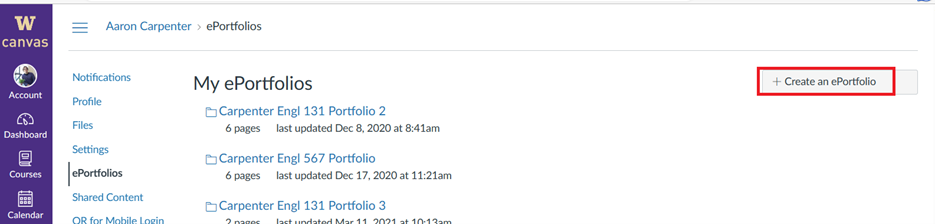
- In the upper-right corner, click Create an ePortfolio.
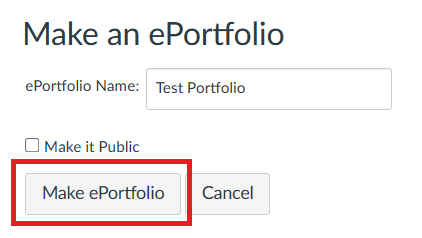
- In the ePortfolio Name dialogue box, type the name of your portfolio.
- Click Make ePortfolio.
- Note: If you check Make it Public, other people will be able to find the ePortfolio on Google.
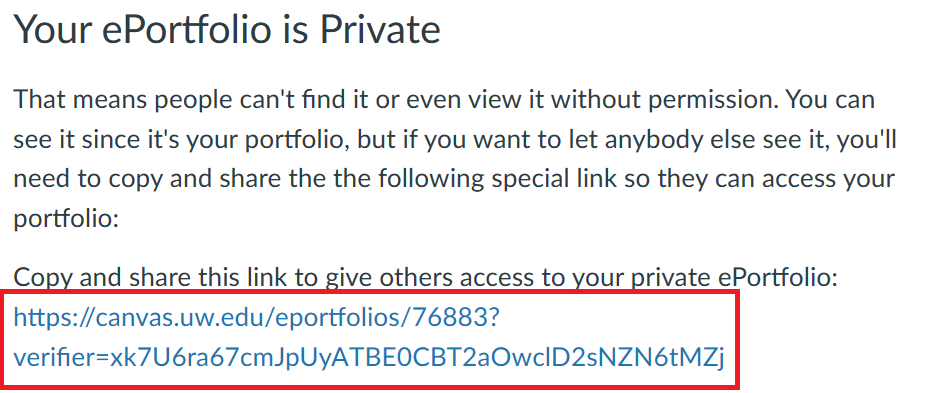
- Under the Your ePortfolio is Private section, there is a link to share your ePortfolio, copy this link and email it to your instructor.
Step 2: Adding Pages to Your ePortfolio
Follow these steps to add pages to the ePortfolio. The instructor will go over their requirements for a complete portfolio in class.
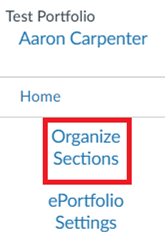
- On the ePortfolio home page, in the left-hand column, click Organize Sections.
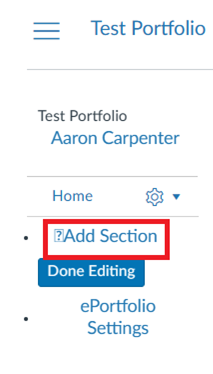
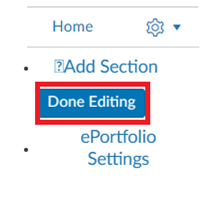
- Click Add Section, type a name for the page in the dialogue box, and then press Enter.
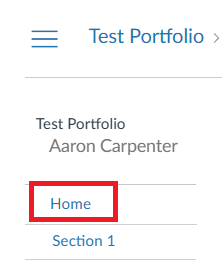
- The new page saves and displays in the left-hand column.
- In the Page Name text box, type or paste a name for the page.

- Click Save Page.
- Repeat steps 1 - 4 as needed to add additional pages.
- Click Done Editing when finished.
Step 3: Adding Content to a Page in Your ePortfolio
Follow these steps to add content such as an image, rich text, or a file to a page on your ePortfolio. Content is contained within separate blocks. Each type of content requires its own block. You cannot include an image in a rich text block.
Adding Body Text
Follow these steps to add body text to introduce your portfolio or portfolio item to the reader.
- In the left-hand column, double-click on the page you would like to edit.
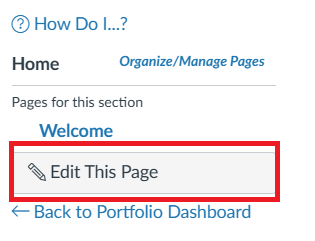
- In the right-hand column, click Edit This Page.
- The editing page now displays.
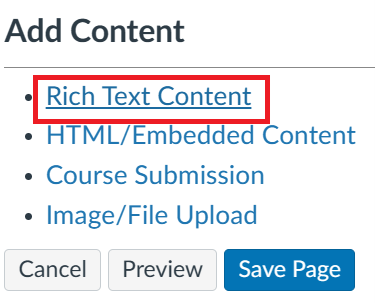
- Under Add Content, click Rich Text Content.
- In the text box below Rich Text Content section, type or paste your text.
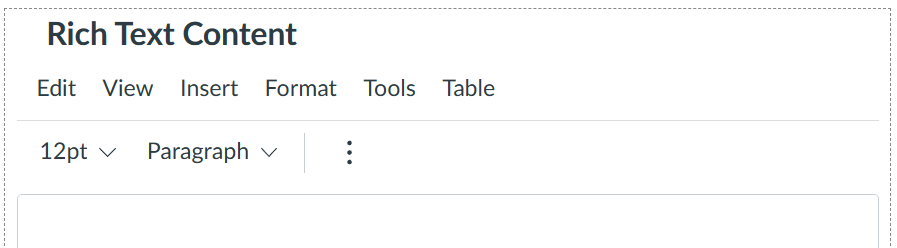
- Click Format to format text as needed.
- Click Save.
Uploading Course Content
Follow these steps to upload content that you saved on or uploaded to Canvas to this page.
- In the left-hand column, double-click on the page you would like to edit.
- In the right-hand column, click Edit This Page.
- The editing page now displays.
- Under Add Content, click Course Submission.
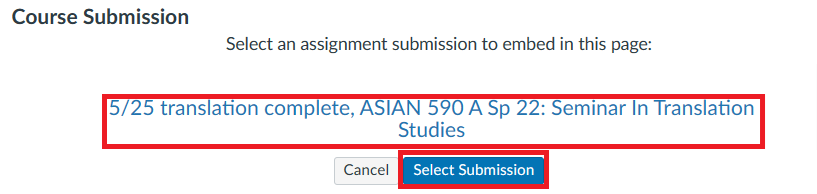
- A list of files that you submitted on Canvas displays in descending order by the date they were uploaded.
- Click the desired file, and then click Select Submission.
- The file now displays on your ePortfolio page under Course Submission.
- Repeat steps 1 – 3 as many times as needed to upload all desired files.
- Click Save.
Uploading an Image or File from Your Computer
Follow these steps to upload an image or file from your computer to this page.
- In the left-hand column, double-click on the page you would like to edit.
- In the right-hand column, click Edit This Page.
- The editing page now displays.
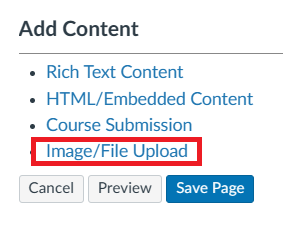
- Under Add Content, click Image/File Upload.
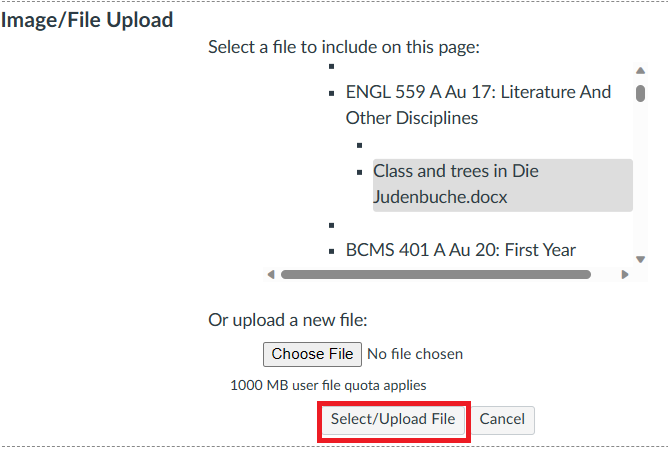
- Click Choose File, select the desired file, and then click Open.
- Click Select/Upload File.
- The file now displays on your ePortfolio page.
- Repeat steps 1 – 3 as many times as needed to upload all your desired files.
- Click Save Page.
Step 4: Rearranging Blocks on a Page
Follow these steps to move the order of the content blocks on a portfolio page.
- Toggle over the section you want to rearrange, an up-down arrow displays in the upper left corner of the section.

- Click on the arrow and drag the section up or down as desired.